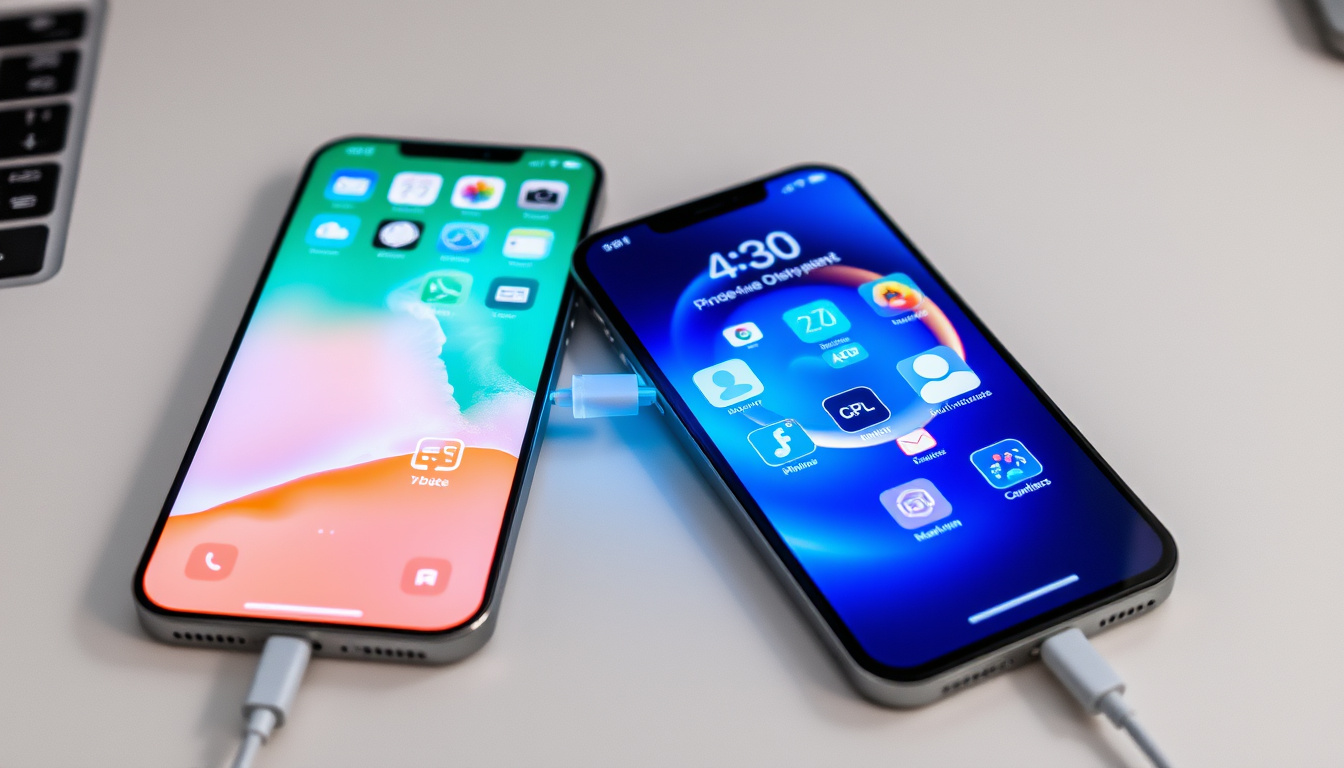
What’s the Easiest Way to Transfer Data from iPhone to iPhone?
Moving to a new iPhone does not have to mean losing your photos, messages, apps, or settings. Apple provides several official pathways for transferring data between devices, each suited to different situations and preferences. Whether you have your old iPhone on hand or need to restore from a previous backup, the process has been streamlined across iOS versions including the latest iOS 18 and iPhone 16 lineup.
The three primary methods available are Quick Start for direct wireless transfer, iCloud backup for wireless restoration without the old device, and computer-based restore using Finder on Mac or iTunes on Windows. Each approach transfers your apps, photos, contacts, messages, health data, and settings, though the specifics of what moves and how quickly depend on the method chosen and your available storage.
| Method | Requirements | Time | Best For |
|---|---|---|---|
| Quick Start (Direct) | Both devices nearby, Wi-Fi on | Minutes to hours | Up-to-minute data transfer |
| Quick Start + iCloud | Both devices nearby, iCloud backup | Faster initial setup | Quick start with background download |
| iCloud Backup | No old device needed, iCloud space | Background download | No access to old iPhone |
| Finder / iTunes | Computer, Lightning or USB-C cable | Varies by data size | Large backups, no cloud dependency |
Quick Start stands out as the fastest option when both iPhones are within reach, allowing direct transfer of nearly everything from your old device to the new one. iCloud backup offers flexibility when your previous phone is unavailable or being used elsewhere. Computer-based methods through Finder or iTunes work well for those who prefer local backups or need to move particularly large libraries without relying on cloud storage limits.
Key Things to Know Before You Start
- Quick Start requires iOS 11 or later on the source device and works seamlessly with iOS 18 and iPhone 16
- All methods preserve apps, photos, contacts, settings, and passwords stored in iCloud Keychain
- iCloud provides 5GB of free storage; most users need paid plans for comprehensive backups
- Transfer times vary significantly based on data volume, Wi-Fi speed, and whether devices remain in active use
- Some apps including WhatsApp require manual in-app backup before the transfer to ensure complete data movement
- Direct cable transfer is possible through Quick Start but wireless methods are sufficient in most scenarios
- Health data transfers successfully across all official Apple methods when iCloud sync is enabled
| Compatible iOS Version | iOS 11 and later (including iOS 18) |
|---|---|
| Required Account | Same Apple ID on both devices recommended |
| Data Types Transferred | Apps, photos, contacts, messages, settings, passwords |
| Cable Requirement | Optional (Lightning to USB-C or USB-C) |
| iCloud Storage Free Tier | 5GB (paid plans available up to 2TB) |
| WhatsApp Transfer | Requires in-app backup before transfer |
How Does Quick Start Work for Direct iPhone Transfer?
Quick Start automates the initial setup of a new iPhone by using your existing device as a configuration bridge. When you power on a new iPhone near your current one running iOS 11 or later, the old device detects the new hardware and displays a setup prompt automatically. This feature works across the iPhone 16 lineup, iPhone 15 series, and earlier models going back several generations.
The Quick Start Step-by-Step Process
Begin by ensuring both iPhones are connected to Wi-Fi, have Bluetooth enabled, and are plugged into power. Apple recommends keeping both devices close throughout the transfer process. Your old iPhone will display an animation that you scan using the new device’s camera, establishing a secure local connection between the two phones.
After scanning, enter your existing passcode on the new device when prompted. This passcode becomes the passcode for your new iPhone. You then choose between two transfer options: “Transfer from iPhone” performs a direct device-to-device transfer, while “Download from iCloud” restores your data from a previous backup, allowing faster initial setup with downloads happening in the background.
Direct transfer keeps both devices occupied until completion, which can take anywhere from several minutes to a few hours depending on the amount of data. The iCloud option lets you begin using your new iPhone immediately while apps and media download progressively in the background.
What Data Transfers with Quick Start
When using Quick Start with a direct transfer, nearly your entire device state moves to the new iPhone. This includes installed apps and their data, your photo library, contacts, messages including group messages, health data synced from Apple Health, and WhatsApp conversations if the app has been backed up to iCloud. Settings transfer completely, and passwords stored in iCloud Keychain migrate automatically without requiring re-entry.
The notable exception involves content already stored in iCloud rather than on-device. Files accessed through iCloud apps, documents in iCloud Drive, and photos optimized to save space rather than stored in full resolution remain accessible but may not duplicate fully onto the new hardware until accessed or downloaded.
Creating a fresh iCloud backup of your old iPhone before initiating Quick Start significantly speeds up the process. Navigate to Settings, tap your name, select iCloud, then iCloud Backup, and choose Back Up Now. This ensures you have the most current snapshot available if you encounter any issues during transfer.
Using Quick Start Without Your Old iPhone
If your previous iPhone is lost, damaged, or being used by a family member, you can still set up your new device through Apple’s alternative pathway. During the setup screens on your new iPhone, select “Set Up Without Another Device” rather than proceeding with Quick Start. From there, choose to restore from an iCloud backup by signing in with your Apple ID and selecting the most appropriate backup from your available options.
For those who prefer to avoid the direct transfer method entirely, restoring from an iCloud backup provides a straightforward alternative that handles the initial setup without requiring both devices to be present.
How to Transfer Data Using iCloud Backup?
iCloud backup provides a wireless solution that requires no physical access to your previous iPhone or a computer. This approach suits those upgrading from a distance, those whose old device is no longer functional, or anyone who prefers downloading their data directly to the new hardware without managing cables or keeping two phones active simultaneously.
Preparing Your iCloud Backup
Before switching devices, ensure your old iPhone has a complete and recent backup stored in iCloud. Open the Settings app, tap your name at the top, select iCloud, then iCloud Backup. If backup is not already enabled, toggle it on. Select “Back Up Now” and keep the device connected to Wi-Fi until the process completes. You can verify the backup timestamp under the same menu to confirm success.
One critical consideration involves iCloud storage allocation. Apple provides 5GB of free iCloud storage with each Apple ID, which is insufficient for most users with substantial photo libraries and app data. If your current backup exceeds the free tier, you will need to purchase additional storage through iCloud+ plans ranging from 50GB to 2TB. The system will warn you during backup if space is insufficient.
Restoring from iCloud on Your New iPhone
When setting up your new iPhone, connect to Wi-Fi and sign in with your Apple ID when prompted. After accepting the terms and conditions, choose “Restore from iCloud Backup.” The system presents a list of available backups sorted by date, allowing you to select the most recent one from your previous device. The restore process begins immediately, with apps, photos, contacts, and settings beginning their download.
Your new iPhone becomes usable quite quickly after the initial restore, though full data transfer continues in the background. Photos may download in optimized form initially and replace themselves with full-resolution versions as they are accessed. Apps redownload from the App Store rather than transferring directly, which can affect their settings if not properly backed up within their native platforms.
iCloud backup captures data stored locally on your device. Photos synced through iCloud Photos are not included in the backup itself since they reside in the cloud. Ensure iCloud Photos is enabled on your new device after setup to access your entire library. WhatsApp requires separate in-app backup through its own settings to transfer message history.
Comparing iCloud Timeframes
Transfer speed through iCloud depends heavily on your internet connection and the total volume of data to restore. Initial device setup completes within minutes, but complete restoration of all apps, photos, and media can extend over several hours or overnight on slower connections. Apple recommends keeping the device connected to power and Wi-Fi during this period to avoid interruption.
How to Transfer iPhone Data Using a Mac or PC?
Computer-based transfer offers a reliable alternative for users who prefer local backups or need to migrate large amounts of data without cloud storage constraints. This method uses Finder on macOS Catalina and later or iTunes on older macOS versions and Windows PCs to create full backups and restore them to your new device.
Backup Process Using Finder or iTunes
Connect your old iPhone to your computer using a Lightning cable or USB-C to Lightning cable depending on your iPhone model. Open Finder (macOS Catalina+) or iTunes (older systems or Windows) and select your device from the sidebar. Click “Back Up Now” under the Backups section, ensuring the backup includes all relevant data including app data, health information, and device settings.
Encrypted backups provide additional protection for passwords, health data, and Wi-Fi credentials. If you choose encryption, remember to store the password securely as it will be required to restore from that backup. After the backup completes, disconnect your old iPhone and connect your new device. Select “Restore Backup” and choose the most recent backup file from the available list.
Those who prefer a computer-based approach can find detailed instructions on how to restore an iPhone using Finder or iTunes in our related setup guide.
When Computer Transfer Makes Sense
This approach proves particularly valuable for users with large photo libraries or extensive app data that would exceed reasonable iCloud storage costs. Photographers, videographers, and users with extensive offline media collections often find computer-based transfer the most practical solution. It also serves those who prefer having a physical backup stored locally rather than solely in the cloud.
The requirement for a computer and appropriate cable distinguishes this method from wireless alternatives. The transfer itself may take longer for massive datasets, particularly when restoring over USB 2.0 connections, though USB 3.0 and later connections offer noticeably faster data transfer rates. Users without computers or those seeking maximum convenience may find wireless methods more suitable despite the storage considerations.
Before beginning any computer-based transfer, ensure your operating system is current. macOS Ventura and later require Finder for iPhone management, while macOS High Sierra and earlier use iTunes. Windows users should verify they have the latest version of iTunes from the Microsoft Store or Apple download page to ensure compatibility with iOS 18 devices.
What If My iPhone Data Transfer Fails? Common Fixes
Transfer failures or stuck processes occasionally occur despite Apple’s refined processes. Understanding common failure points and their solutions helps minimize frustration and data risk during what should be a smooth transition to your new device.
Restarting Devices as First Response
When a transfer prompt disappears or progress stalls, restarting both devices often resolves the issue. Power off your new iPhone completely by holding the side button and either volume button until the slider appears, then slide to power off. Restart your old iPhone through Settings, General, Shut Down. After both devices restart, initiate the transfer process again from the beginning or resume from where it stopped if the option persists.
This simple step clears temporary software conflicts that can interrupt the handshake between devices or cause restore processes to hang. Many transfer issues resolve after a clean restart without requiring any additional troubleshooting steps.
Verifying Connections and Settings
Both iPhones must maintain active Wi-Fi connections throughout the transfer process. Check that neither device has entered low power mode or lost connection to your network. Bluetooth must remain enabled on both devices for Quick Start to function. If you encounter persistent connectivity issues, try moving closer to your Wi-Fi router or using a different network temporarily.
Keeping devices plugged into power prevents battery-related interruptions that could corrupt transfer data. Apple explicitly recommends continuous power connection during both backup creation and restore processes. Updating both devices to the latest iOS version through Settings, General, Software Update eliminates known bugs that may have been resolved in recent releases.
Advanced Troubleshooting Steps
If transfers remain stuck after restarts and connectivity verification, erasing your new iPhone and starting the process again sometimes clears persistent issues. Navigate to Settings, General, Transfer or Reset iPhone, then Erase All Content and Settings. This returns the new device to its factory state, allowing you to attempt restoration again with fresh configurations.
Checking iCloud storage availability prevents failures caused by insufficient cloud space. Log into iCloud.com on a computer to review your current storage usage and available capacity. If storage limits have been reached, either delete unnecessary backups and files or purchase additional iCloud+ storage to accommodate your data.
Verifying photo sync through iCloud.com helps confirm that your visual library has properly uploaded before depending on it for restoration. Open iCloud Photos on a web browser and confirm that recent images appear in your library. If photos are missing from the web interface, they may not have fully synced to the cloud from your old device.
Direct iPhone-to-iPhone transfer using Quick Start captures data as it exists at the moment of transfer. iCloud backup only restores information from the most recent completed backup. WhatsApp conversations and health app data require enabling their respective iCloud sync features before transfers occur. Without these preparations, data may not transfer even when using the correct methods.
Which Data Transfers and What Remains Behind?
Understanding exactly what moves during each transfer method helps set realistic expectations and prevents surprises after switching devices. The distinction between locally stored data and cloud-synced content matters significantly for users with large libraries or specific app requirements.
Apps, their associated data, and app settings transfer completely through Quick Start and Finder/iTunes backups. App Store redownloads handle app transfers for iCloud-based methods, though app-specific data depends on whether individual apps have been configured to sync with iCloud or other cloud services. Photos, contacts, messages, and health data move successfully when backup conditions are properly met.
Certain categories of data have specific transfer requirements. WhatsApp message history only transfers if you manually create an in-app backup within WhatsApp settings before initiating the device transfer. Health data requires iCloud sync to be enabled on your old device before the transfer begins. Settings for native Apple apps transfer completely, while third-party app settings depend on each developer’s cloud sync implementation.
Content already residing in iCloud rather than on-device does not duplicate during transfer, remaining accessible through cloud access rather than physical duplication on your new hardware. This includes documents stored in iCloud Drive, photos uploaded through iCloud Photos, and data accessed through iCloud-enabled productivity apps.
Sources and Expert Guidance
Apple’s official support documentation and community discussions provide the most reliable information for iPhone data transfer procedures. The company’s support pages undergo regular updates to reflect changes in iOS and new device capabilities, making them the primary reference for current methods and requirements.
“Use Quick Start to automatically transfer data from your previous iPhone to your new one. Both devices must be connected to Wi-Fi, have Bluetooth enabled, and be in close proximity to each other.”
“Before you begin, back up your iPhone to iCloud so you have a copy of your data. If you transfer without a previous backup, only data stored locally on your device will transfer.”
Community forums and third-party tech publications offer practical troubleshooting insights based on real-world experiences with various iPhone models and iOS versions. These sources often address edge cases and specific scenarios not covered in official documentation, providing valuable context for users with unusual transfer requirements.
Summary and Next Steps
Transferring data from your old iPhone to a new one involves choosing among three main pathways: Quick Start for direct wireless transfer when both devices are accessible, iCloud backup for wireless restoration without the old hardware, and computer-based restore using Finder or iTunes for local backup management. Each method moves apps, photos, contacts, messages, health data, and settings comprehensively when properly configured.
Quick Start provides the freshest copy of your data by performing real-time device-to-device transfer, making it the preferred method when your old iPhone remains available. iCloud backup offers flexibility and convenience for those upgrading remotely or preferring not to manage cables. Computer-based transfer serves users with large data volumes or those comfortable with local backup management.
After completing your transfer, take time to configure Face ID or Touch ID with your new device, verify that iCloud sync is properly enabled across all desired categories, and create a fresh backup of your new iPhone immediately. Regular backups through your chosen method ensure that future device transitions proceed as smoothly as this one. For those interested in related setup topics, consider reviewing our Baby Brezza Bottle Washer guide for additional device integration insights.
Frequently Asked Questions
What data transfers from iPhone to iPhone?
Apps, photos, contacts, messages, health data, settings, and passwords stored in iCloud Keychain transfer through all official methods. Some apps like WhatsApp require separate in-app backup before transfer.
Is there a cable for direct iPhone to iPhone transfer?
Quick Start operates primarily through wireless connection, but you can use a cable for stability. Connect both devices via Lightning or USB-C cable and select the appropriate transfer option when prompted.
How to transfer specific data like photos only?
For selective transfer, use iCloud Photos to sync your library, then disable iCloud Photos after setup on your new device. Alternatively, transfer photos manually through AirDrop or cloud storage services.
How much iCloud storage do I need to transfer data?
The free tier provides 5GB, which is typically insufficient for users with substantial photo libraries. Most users benefit from iCloud+ plans starting at 50GB ($0.99/month) or higher tiers depending on storage needs.
Can I transfer data without resetting my new iPhone?
Quick Start requires initial setup of the new device, but you can transfer data before finalizing all settings. If you have already set up the new iPhone, erasing it through Settings, General, Transfer or Reset allows you to start fresh.
What if my transfer gets stuck and won’t continue?
Restart both devices, ensure Wi-Fi and Bluetooth are functioning properly, and keep both connected to power. If stuck persists, erase the new iPhone and attempt the transfer again from the beginning.
Do all iPhone models use the same transfer methods?
Yes, Quick Start, iCloud backup, and Finder/iTunes restore work across all iPhone models running iOS 11 or later, including iPhone 16, 15, 14, 13, and earlier generations.

Thomas Walsh leads fact-checking, source verification and corrections at Australia Voice.